
If you need to send emails using Office 365 SMTP credentials (e.g., from a website, app, or third-party email client), you must ensure certain settings are correctly configured both in Microsoft 365 and Azure. This guide walks you through the complete set
Follow the updated steps below to properly enable SMTP AUTH using PowerShell.
Before starting, ensure you have:
Administrator access to Microsoft 365
Windows PowerShell installed
Internet connectivity to connect with Exchange Online
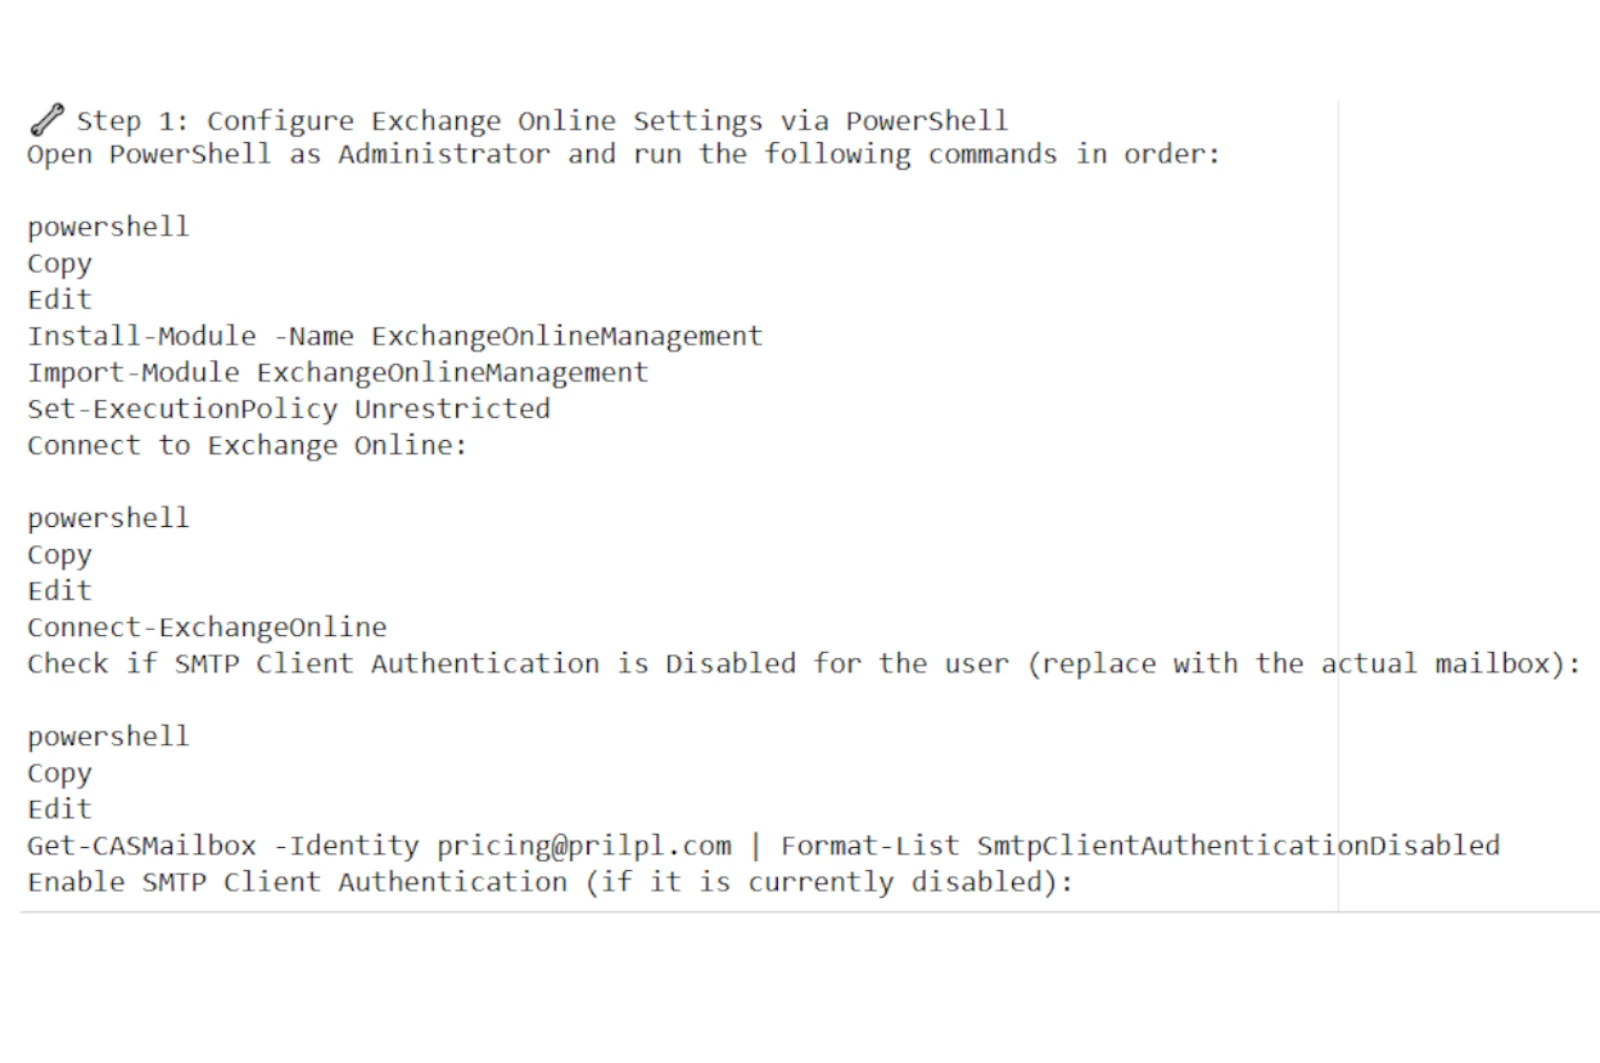
Please make sure to open PowerShell as Administrator before running the commands.
Run the following command:
Install-Module -Name ExchangeOnlineManagement
If prompted to install from an untrusted repository, type:
Y
and press Enter.
Import-Module ExchangeOnlineManagement
If script execution is restricted, run:
Set-ExecutionPolicy Unrestricted
Confirm by typing:
Y
when prompted.
Connect-ExchangeOnline
This command will prompt you to log in using your Microsoft 365 administrator credentials.
You can also connect directly using:
Connect-ExchangeOnline -UserPrincipalName admin@yourdomain.com
Replace admin@yourdomain.com with your Microsoft 365 admin email address.
Run the following command:
Get-TransportConfig | Select SmtpClientAuthenticationDisabled
True → SMTP AUTH is disabled globally.
False → SMTP AUTH is enabled globally.
To enable SMTP AUTH for a specific user mailbox:
Set-CASMailbox -Identity user@yourdomain.com -SmtpClientAuthenticationDisabled $false
Replace user@yourdomain.com with the actual mailbox email address.
Run the following command to confirm the configuration:
Get-CASMailbox -Identity user@yourdomain.com | Select SmtpClientAuthenticationDisabled
False
This means SMTP AUTH is successfully enabled for that mailbox.
SMTP AUTH is now enabled for the selected mailbox, and you can use Microsoft 365 SMTP settings within your applications, contact forms, ERP systems, or legacy integrations.
This updated method aligns with Microsoft’s latest Exchange Online security and authentication policies.
(1) (0)


No comments