
Learn how to install a cross-server SSL certificate when your hosting is on GoDaddy and SSL is purchased from BigRock. Step-by-step guide covering CSR generation, DNS verification, installation, and HTTPS setup.
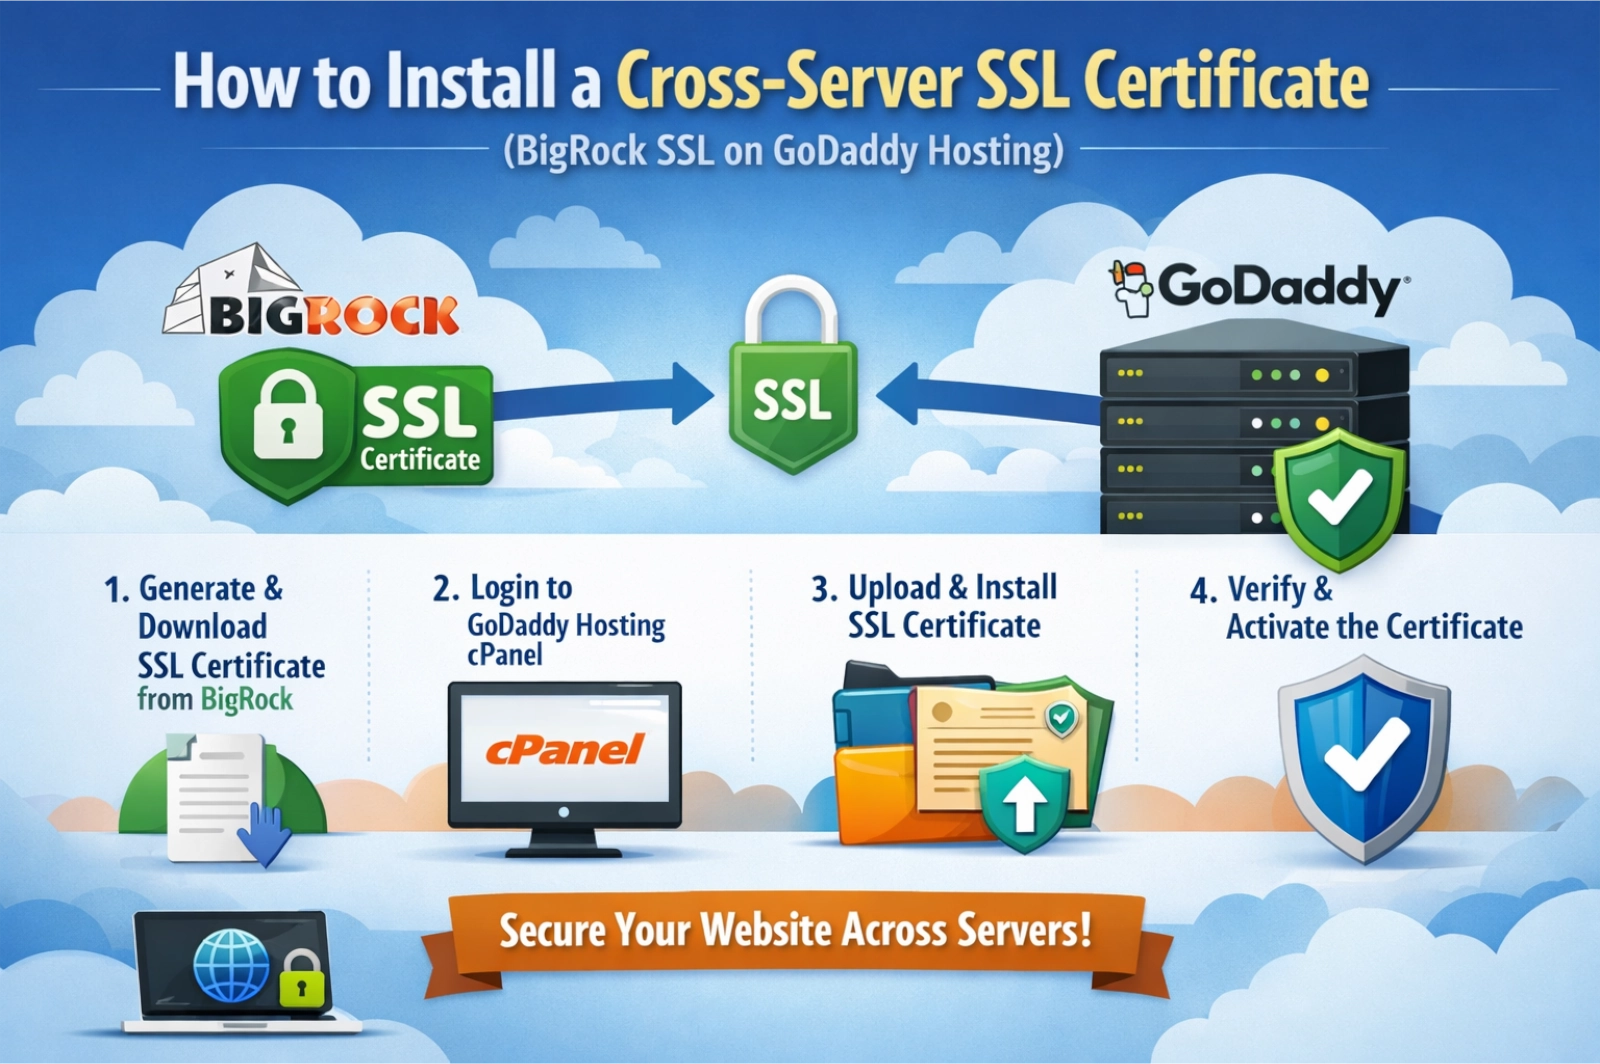
Installing an SSL certificate when your hosting provider and SSL provider are different is very common. For example:
🌐 Website Hosting: GoDaddy
🔒 SSL Provider: BigRock (powered by Sectigo)
This setup is called a cross-server SSL installation.
If your website is hosted on GoDaddy but your SSL certificate is purchased from BigRock, this detailed guide will walk you through the complete, professional process — from CSR generation to final HTTPS activation.
A cross-server SSL setup means:
Your domain/hosting server is with one company
Your SSL certificate is purchased from another company
The process involves:
Generating a CSR on the hosting server
Activating the SSL with the provider
Verifying domain ownership
Installing the issued certificate back on the hosting server
Once completed, your website becomes secure and accessible via HTTPS.
The CSR (Certificate Signing Request) must be generated on the server where the website is hosted.
Login to GoDaddy
Go to My Products
Click Web Hosting → Manage
Open cPanel
Navigate to SSL/TLS
Click Generate, view, or delete CSR
Fill in:
Domain name (e.g., yourdomain.com)
Country
State
City
Organization name
Click Generate.
You will see a block of code:
Copy the entire CSR — you’ll need it in the next step.
Now activate the certificate using the CSR.
Login to BigRock
Go to My Products
Click SSL Certificates
Click Manage
Select Activate
Paste the CSR generated from GoDaddy
Proceed to domain validation.
BigRock will provide a CNAME record for verification.
Example:
Type: CNAME
Host: _XXXXXXXXXXXX
Points to: XXXXXXXX.sectigo.com
⚠ Important: Add the DNS record in GoDaddy (where your domain DNS is managed), NOT in BigRock.
Login to GoDaddy
Go to Domains
Click Manage DNS
Click Add Record
Fill in:
Type: CNAME
Name: (copy exactly from BigRock)
Value: (copy exactly from BigRock)
TTL: Default
Click Save.
Usually: 10–30 minutes
Maximum: 4–6 hours
After adding the record:
Return to BigRock and click Done.
In BigRock:
Go to → My Products → SSL Certificates
You’ll see one of these statuses:
| Status | Meaning |
|---|---|
| Pending | Waiting for DNS propagation |
| Issued / Active | Certificate ready |
| Failed | Verification error |
Once status shows Issued / Active, download:
Certificate (CRT file)
CA Bundle (Intermediate certificate)
Now install the issued certificate.
Login to GoDaddy
Open cPanel
Go to SSL/TLS
Click Manage SSL Sites
Under Install an SSL Website, paste:
Certificate (CRT) → From BigRock
Private Key (Auto-filled from CSR)
CA Bundle → From BigRock
Select your domain.
Click Install Certificate.
SSL installation complete.
To ensure all visitors use HTTPS:
Edit .htaccess file inside public_html and add:
Save the file.
Visit:
You should see a 🔒 secure padlock.
You may also test using SSL checking tools for full chain verification.
Cause: CSR generated on a different server
Fix: Regenerate CSR in GoDaddy
Cause: DNS not propagated
Fix: Wait or verify CNAME record
Cause: Mixed content (HTTP images/scripts)
Fix: Update URLs to HTTPS
Cause: Missing redirect rule
Fix: Add .htaccess redirect
A properly installed SSL certificate:
Protects user data
Improves SEO rankings
Builds customer trust
Enables secure transactions
Prevents browser security warnings
Search engines prioritize secure websites. Without HTTPS, your site may show “Not Secure” in browsers.
Using separate providers for hosting and SSL allows:
Competitive pricing
Better certificate options
Easier hosting migration
Independent certificate control
Many businesses buy SSL from one provider and host elsewhere without any issues.
✔ CSR generated on hosting server
✔ SSL activated in BigRock
✔ CNAME record added in GoDaddy DNS
✔ Certificate status shows Issued
✔ SSL installed in cPanel
✔ HTTPS redirect configured
✔ Secure padlock visible
Installing a cross-server SSL certificate may seem technical, but the process follows a clear structure:
Generate CSR → Verify Domain → Install Certificate → Force HTTPS
Once configured properly, your website becomes secure, trusted, and SEO-friendly.
If you need help formatting this for WordPress, generating meta tags, or creating a LinkedIn promotional post, I can prepare that for you as well.
(2) (0)

No comments